配置工作流文件
我最开始使用的是官网关于部署到github pages的教程,但是由于时间过于久远代码中调用的接口版本过低已经无法使用,所以我让AI将接口修改成最新的版本:
-
首先需要再项目根目录下创建.github文件夹,并在其中创建
workflows文件夹,之后在workflows文件夹中创建pages.yml文件,内容如下:# 优化的Hugo GitHub Pages工作流程 name: Deploy Hugo Site to Pages on: push: branches: - main workflow_dispatch: permissions: contents: read pages: write id-token: write concurrency: group: "pages" cancel-in-progress: false jobs: build: runs-on: ubuntu-latest steps: - name: Checkout Repository uses: actions/checkout@v4 with: submodules: recursive fetch-depth: 0 - name: Setup Pages id: pages uses: actions/configure-pages@v3 # 使用 peaceiris/actions-hugo 来安装和配置 Hugo,更稳定可靠 - name: Setup Hugo uses: peaceiris/actions-hugo@v2 with: hugo-version: 'latest' # 使用最新版本的Hugo # 新增: 取消注释此行以安装 Hugo Extended 版本,用于处理 Sass/SCSS extended: true # 如果你的主题需要 Node.js 依赖,请保留此步骤 - name: Install Node.js Dependencies run: "[[ -f package.json ]] && npm ci || true" - name: Build Hugo Site env: HUGO_ENVIRONMENT: production HUGO_ENV: production run: hugo --baseURL "${{ steps.pages.outputs.base_url }}/" - name: Upload Artifact # 将版本号从 v2 升级到 v4,以解决弃用警告 uses: actions/upload-pages-artifact@v4 with: path: ./public deploy: environment: name: github-pages url: ${{ steps.deployment.outputs.page_url }} runs-on: ubuntu-latest needs: build steps: - name: Deploy to GitHub Pages id: deployment # 将版本号从 v2 升级到 v4,以解决弃用警告 uses: actions/deploy-pages@v4 -
之后将hugo.toml文件中的baseURL改为
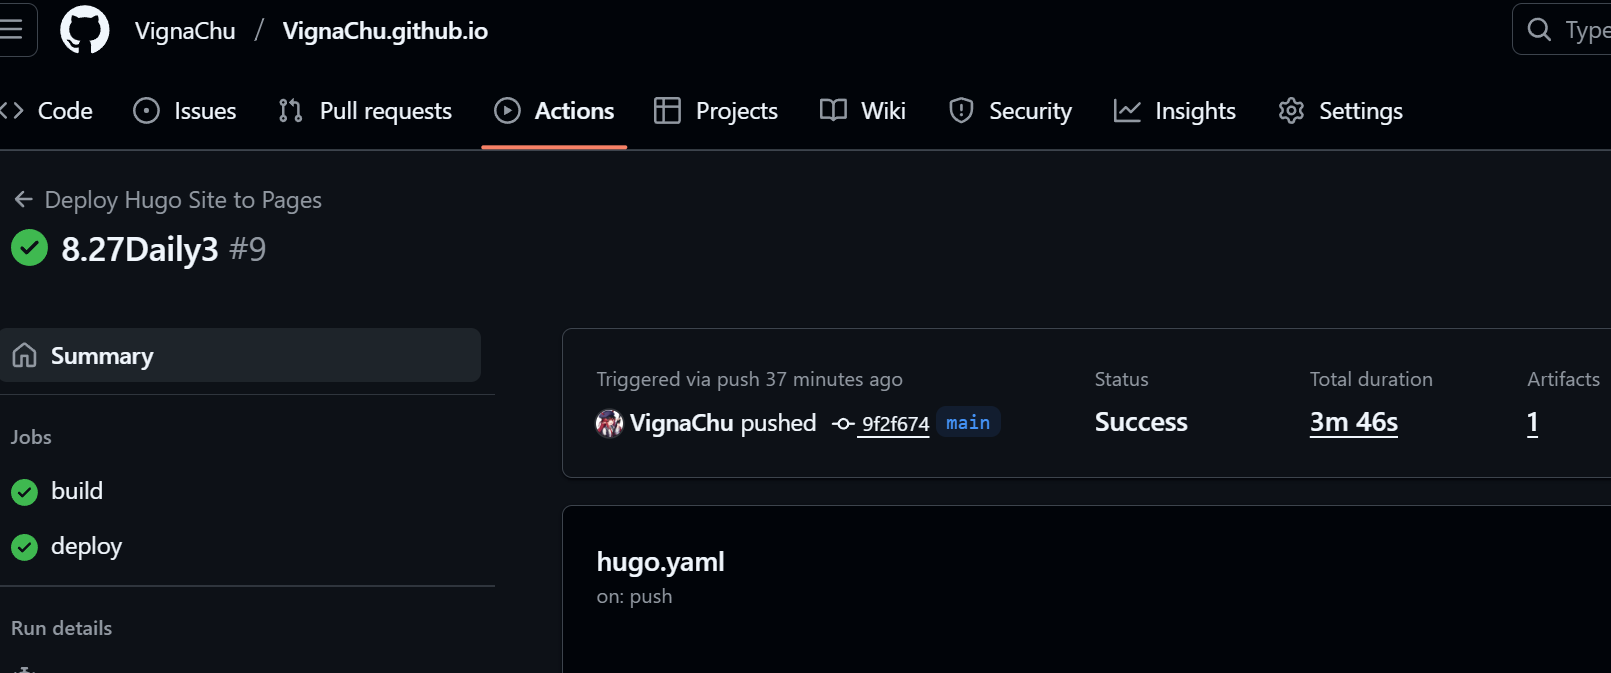
https://<username>.github.io,,然后提交到github仓库,等待github actions自动部署。 -
提交到github仓库的方法参考如下所述:
- 设置上传的地址:git remote set-url origin https://gitee.com/vignaChu/vignaChu.gitee.io.git
- 添加到暂存库:git add .(在后面写上传的东西,.为全部)
- 提交到远程仓库:git commit -m “提交信息”
- 推送到远程仓库:git push -u origin main:main(main为分支名)
-
等待github actions自动部署,部署完成后,就可以在https://.github.io访问到你的博客了。